Getting Started
Welcome to the documentation for spark. Spark is a library developed by Schulich Ignite to help students draw in python.
The basics
Below is everything you need to get started with spark. If you are looking for something specific there is a search bar in the top right and a list of available documentation on the left, and at the bottom of this page.
Also note that you can copy any code listed on this site by clicking on the clipboard icon in the top right of the code block.
Logging in and Slides
To use spark simply login to the Schulich Ignite server here, you will need a gmail account (an email with @gmail.com).
Slides for each class are available on the main website.
Interface
Please keep in mind the Schulich Ignite server is based on Jupyter Notebooks, and may look different to other versions of python you have seen.
Toolbars
There are two toolbars
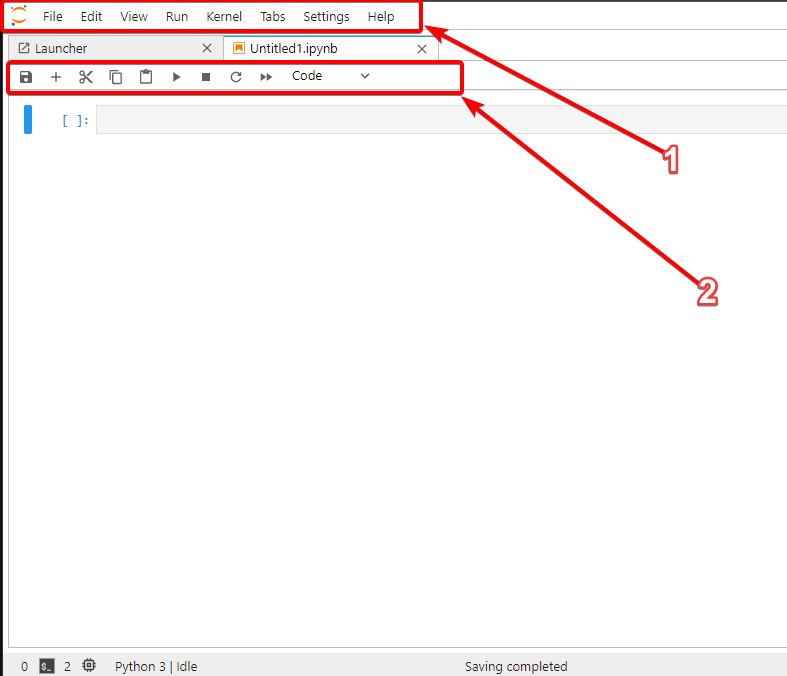
Toolbar 1
Primarily for creating new notebooks, changing settings, and exporting notebooks
Toolbar 2
Used to run cells, and other tasks within the current notebook
Play buttons
Also note that there are two "play" options:
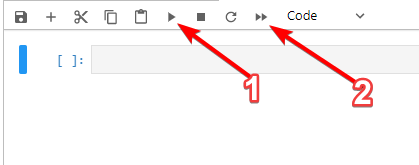
The first is to run the current cell (can also be done with shift + enter).
The second runs all cells in the notebook
Cells
Cells are the little grey rectangles that appear under the second toolbar. You will write your code inside of them. Each cell can be run independently, and notebooks can have an unlimited (mostly) number of cells.
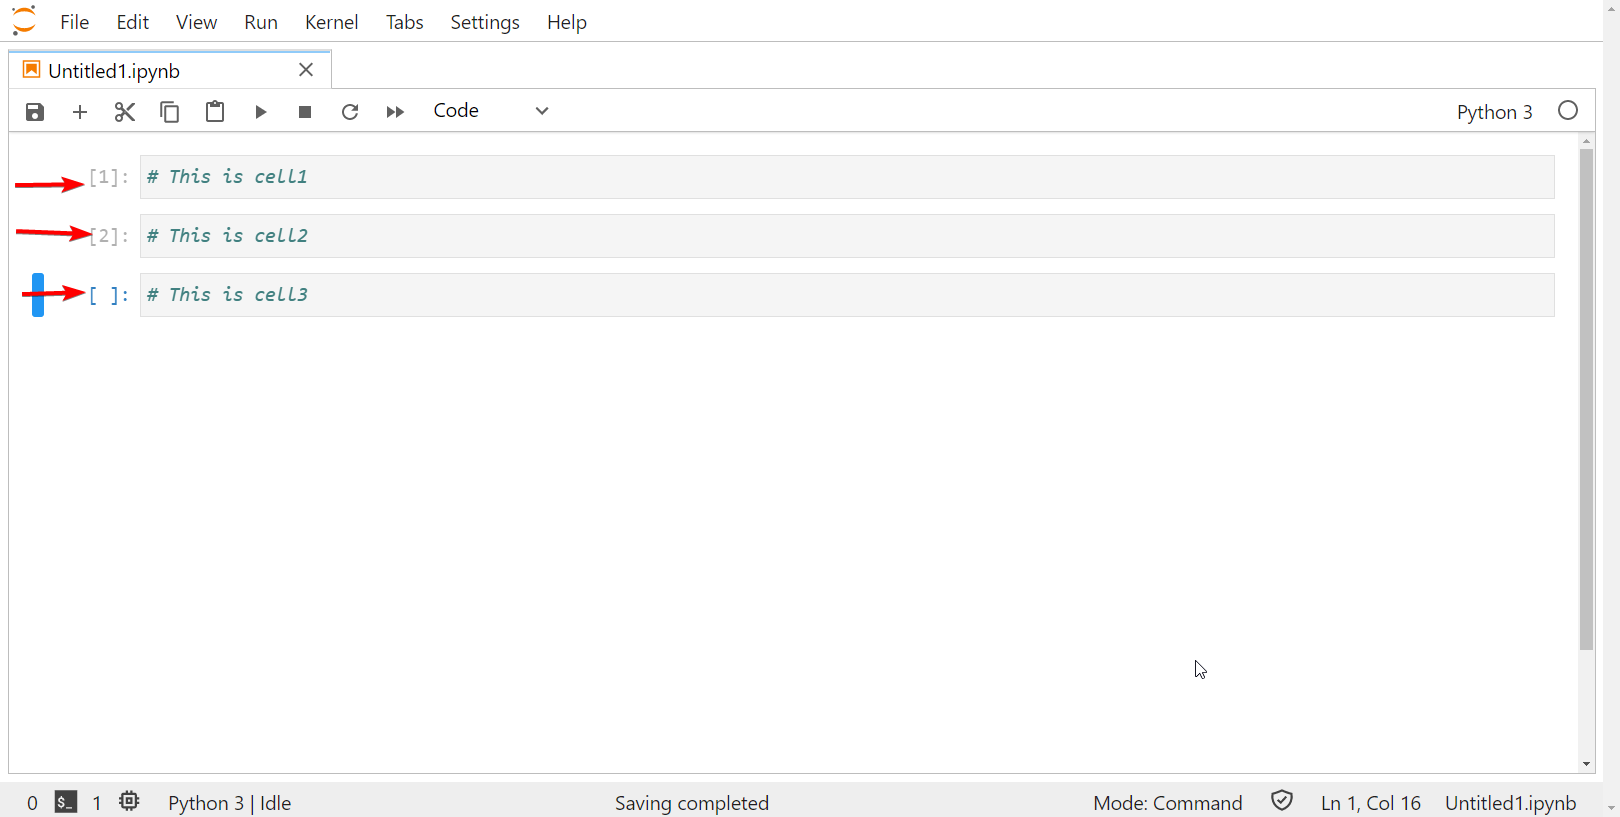
Cell numbers
Also keep in mind the number to the left of the text input (grey rectangle) is the cell number, that tells you which cells were last used.
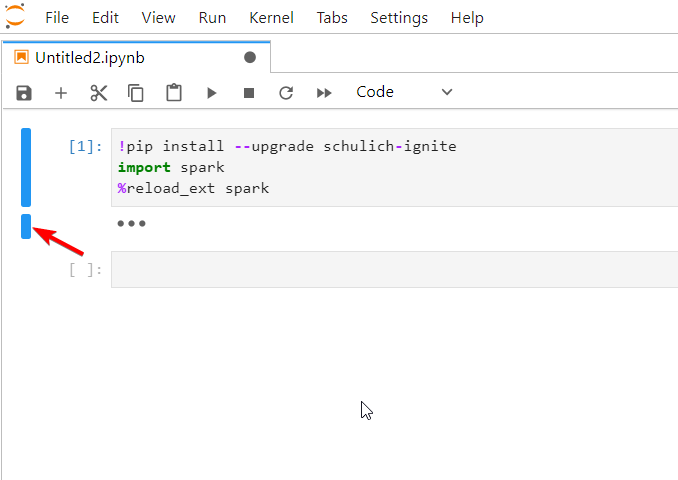
Collapsing cells
You can also collapse a cell, or it's output by hitting the blue rectangle on the left of the cell. For example this is what it looks like before:
And what it looks like after hitting the rectangle:
Running cells
To run cells you can either click the play button on toolbar 2, or hit shift + enter on your keyboard
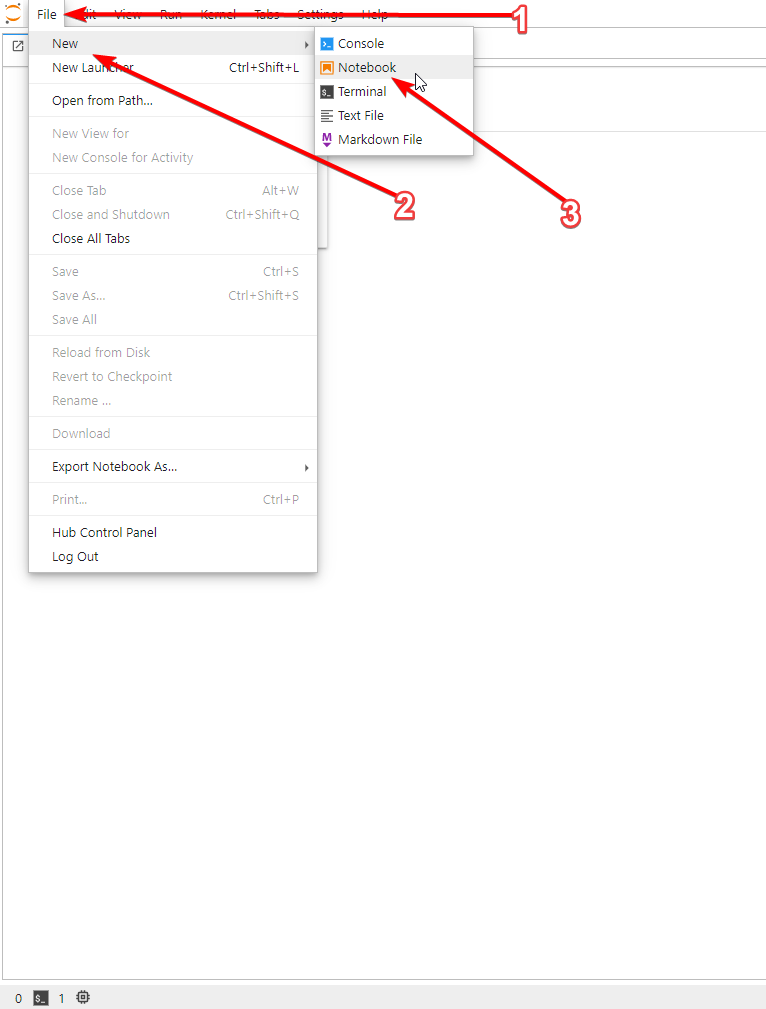
Setting up a notebook
Once you are logged in you can create a notebook by going to File --> New --> Notebook:
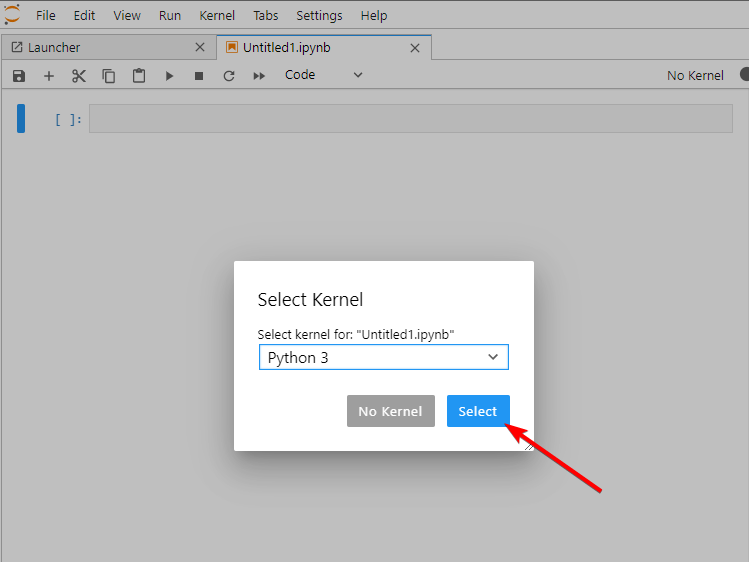
You will then need to just hit Select on the pre-selected kernal that shows up:
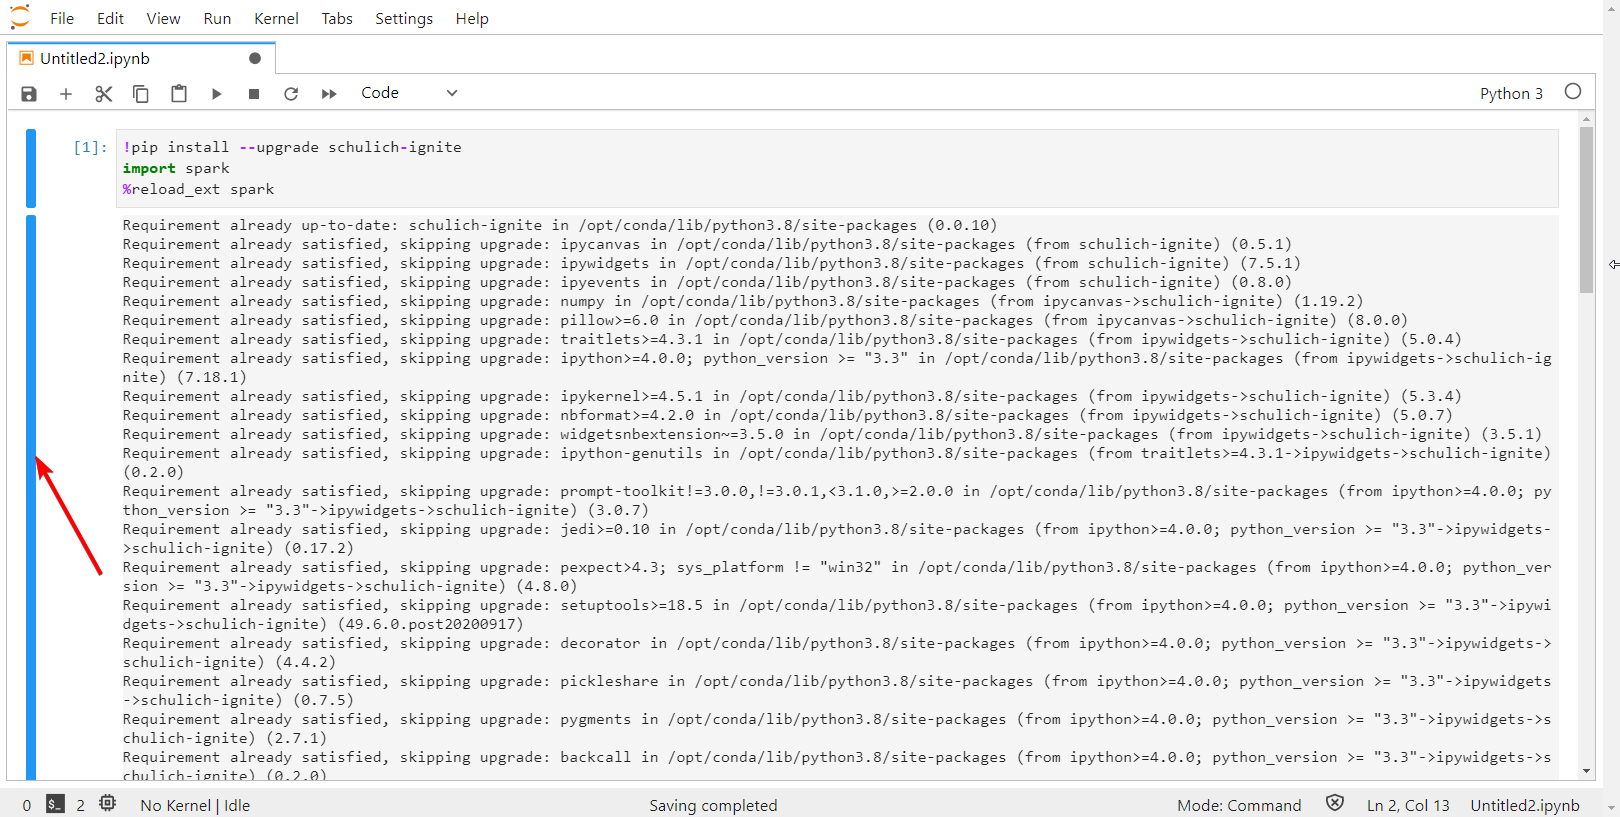
Boilerplate
At the start of each notebook you will need to include the following lines in the first cell, and run it before writing any other code:
1 2 3 | |
Your notebook should look like this:
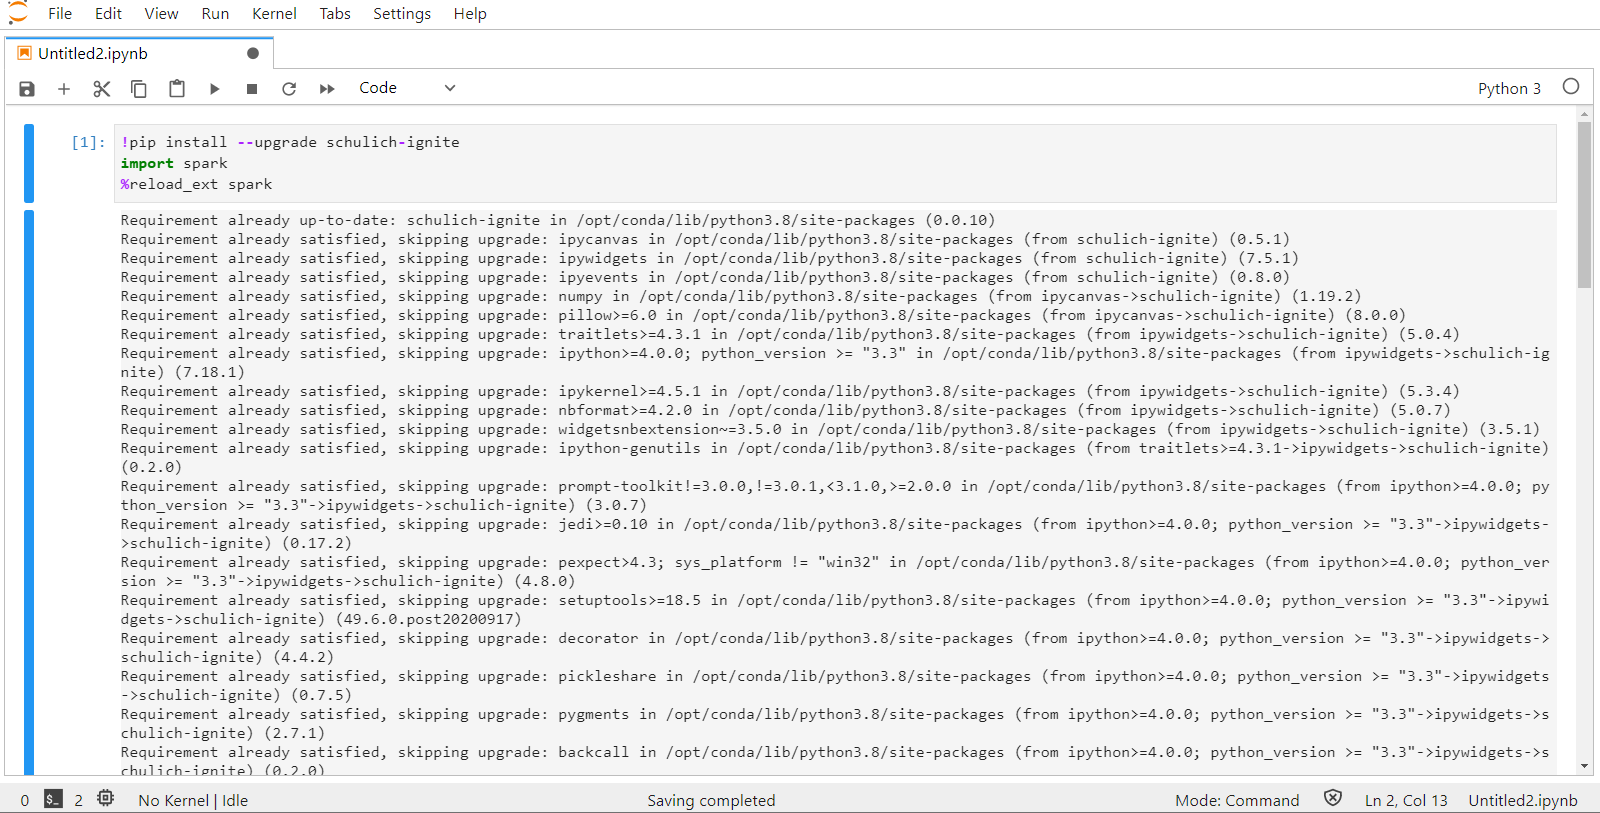
Roughly speaking all this code does, is download the latest version of spark and then bring it into the notebook so we can use it.
Setting up a cell
At the start of each cell (except the first) you need to have at least the following two lines if your code only needs to draw things once:
1 2 3 4 | |
You can also use the draw() function, which will execute the code constantly that is inside it. The draw function executes 30 times per second. This makes it ideal for things like animation, and any code that will update itself over time. Most of the time this will be the setup you want:
1 2 3 4 5 6 7 | |
Saving notebooks
There are two options to save. You can save a notebook with a new name, or save an existing notebook:
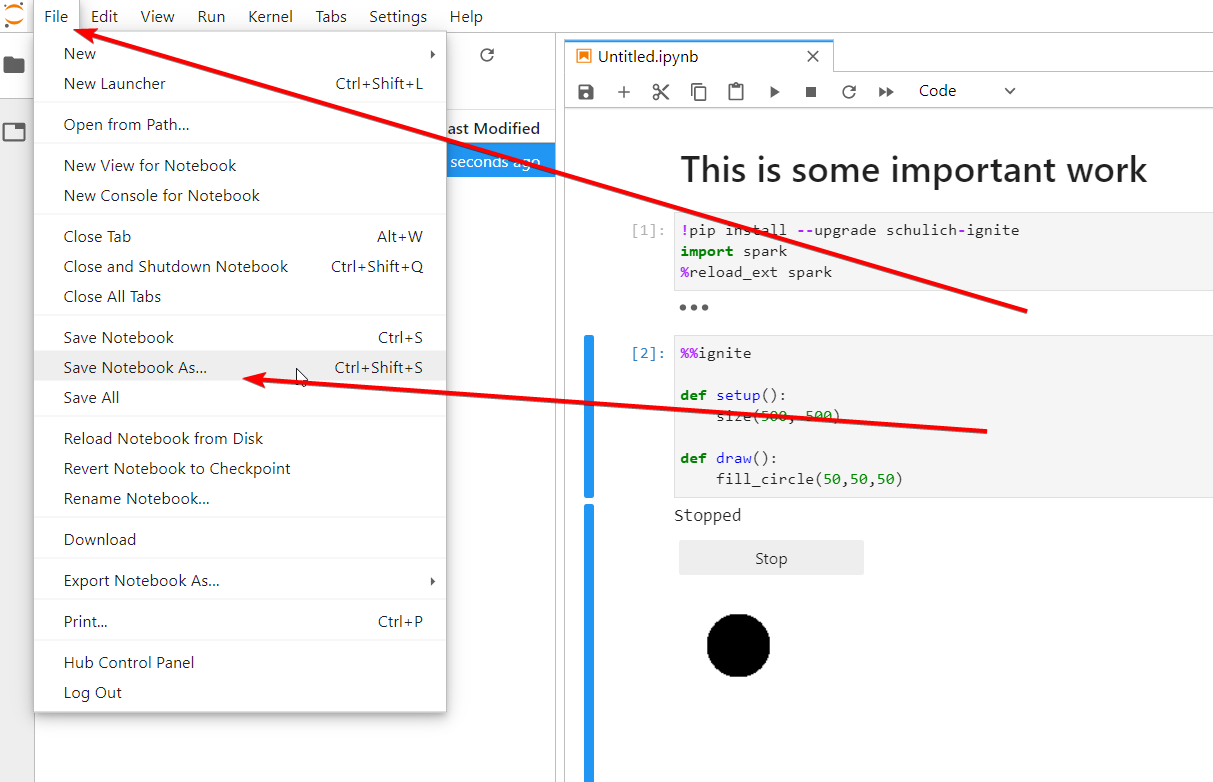
Save a notebook with a name
To save your notebook with a new name go to *file --> save as or use Ctrl or Cmd + Shift+S:
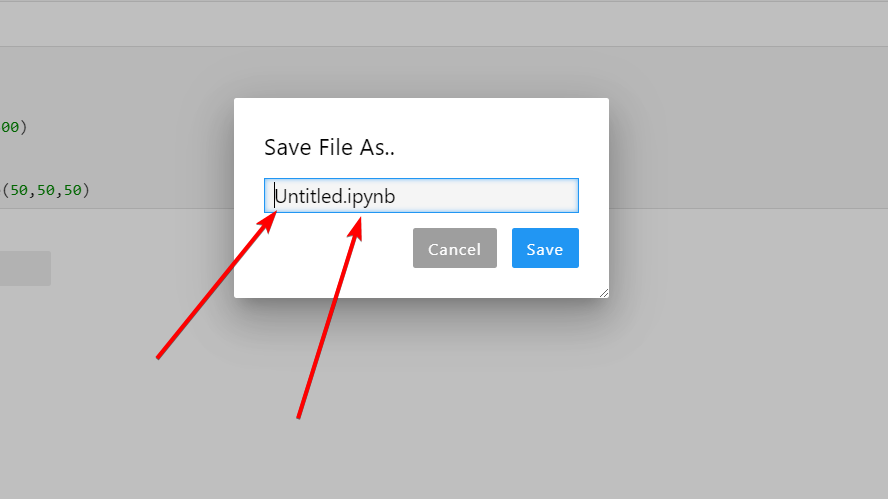
A few things to keep in mind when saving file:
- You CANNOT have ANY spaces, use _ to seperate if need be i.e.
my_test_notebook.ipynb - Make sure you have
.ipynbat the end, if you don't the file won't load
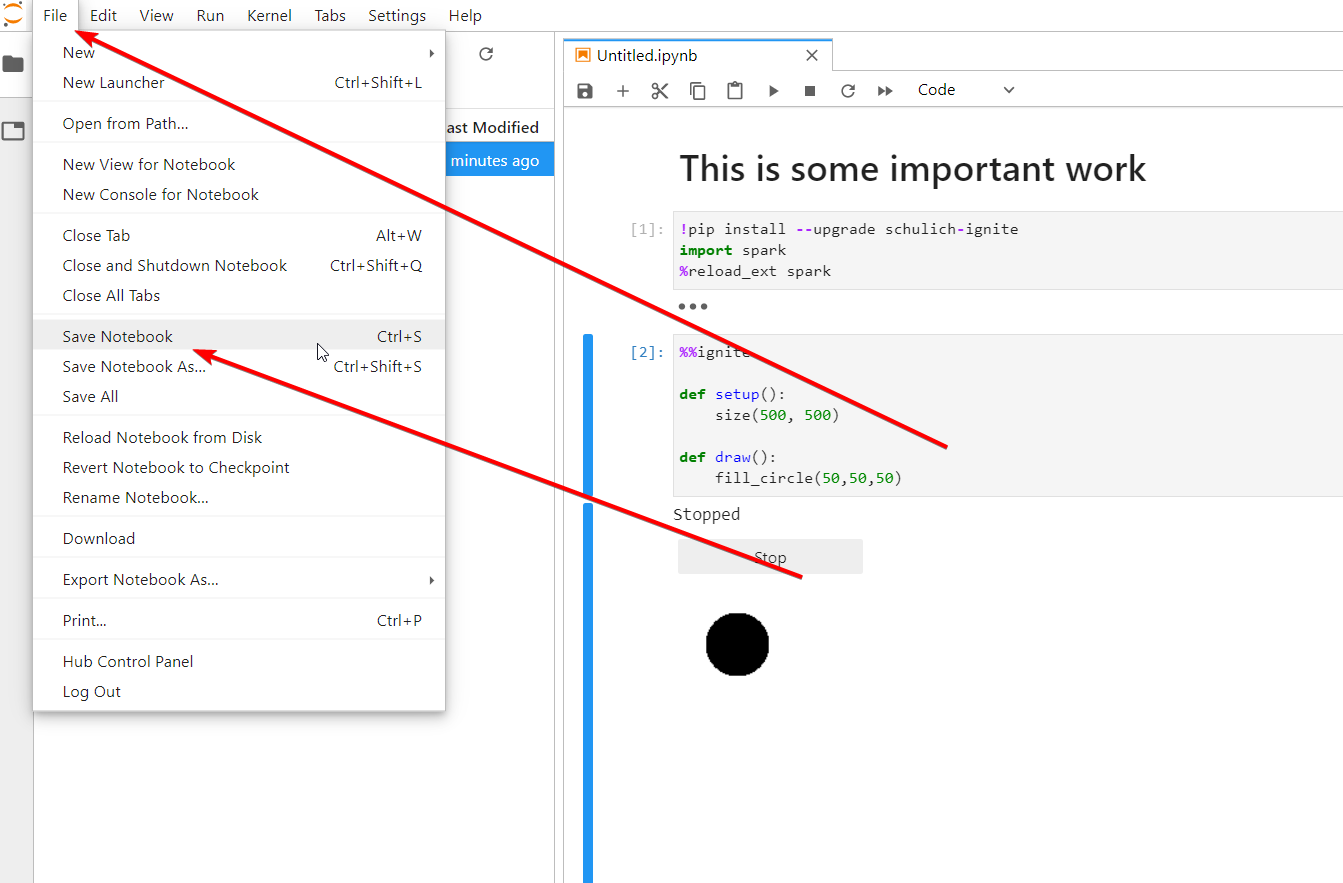
Save an existing notebook
To save your notebook with the same name go to file --> save or use Ctrl or Cmd + S:
Other documentation
Colors - Any functions related to coloring shapes, text, or background
Input - Any functions related to taking user input, such as mouse position or keyboard input
Shapes & Text - Any functions related to creating shapes and/or text
Utilities - Any other useful functions that do not fit the above categories